


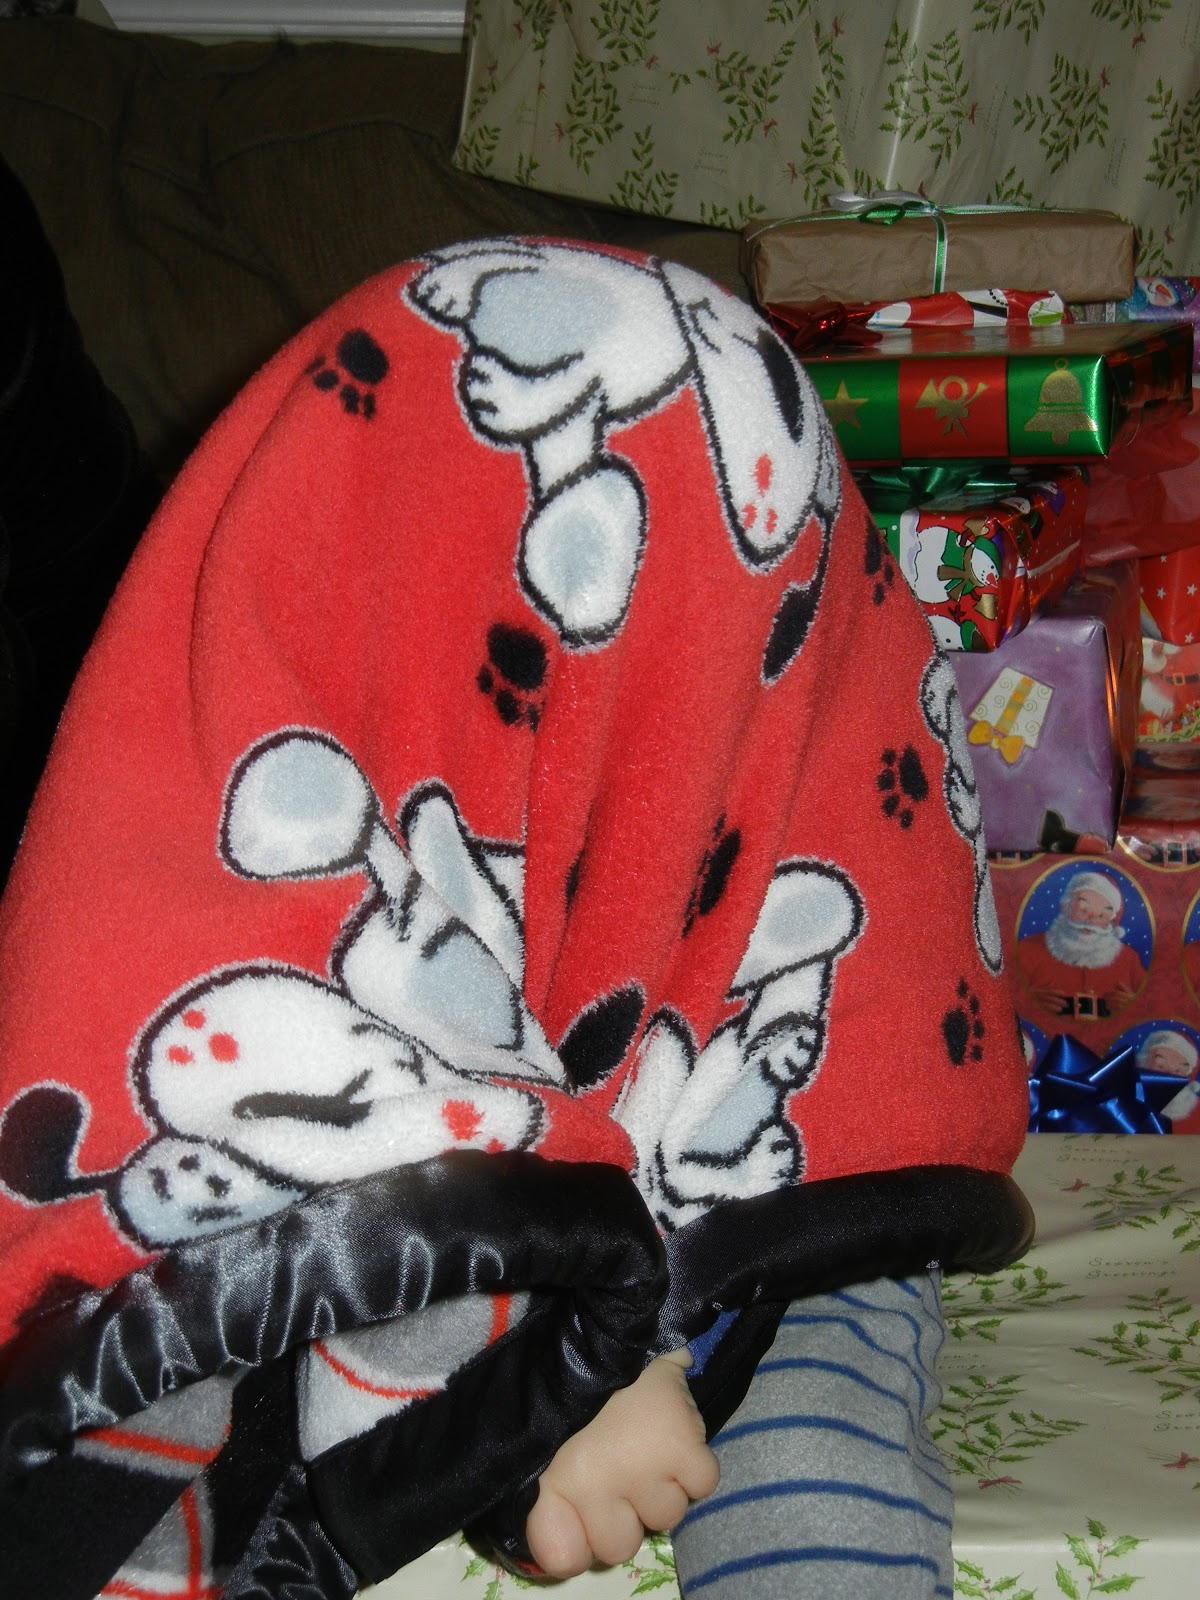
The baby's blanket is 2 layers of ultra cuddle fabric (super soft!) with satin binding. I love how its cutesy on one side and kind of masculine and serious on the other. I found the mitered corners to be difficult on the thick layers. The way I did them is to sew your blanket with WRONG sides together because the binding will hide the raw edges. But I might try sewing with RIGHT sides together and the binding in between (all raw edges even) next time - just not sure how to achieve the mitered corners that way. You could always round the corners to avoid it altogether. Sorry I didn't take great pictures of the mitered corners - if you're not sure what that is, it's just the way the binding rounds the corner at a 90-degree angle. I think the ultra cuddle fabric was my favorite of all the blankets, and I'm going to make one for myself one of these days!

My daughter's blanket was a soft, silky number perfect for an older kid or teen. I used minky swirl and flannel-backed satin - even though you don't see/touch the flannel backing, it still makes for a nice weighty fabric. I feel her blanket could have used an inner layer of flannel or something. Hers was quite large (both fabrics were 54" wide and I made the blanket 2 yards long so 54x72") so that she could use it on her twin bed if she wants to. If you just want to make a throw, I would make it 48" long. I made it the same way I did for my minky blanket tutorial, and if I weren't so pressed for time I would have liked to appliqué her initial in the corner, or add some ruffle trim. I did a wavy stitch for the topstitching to make it a little girly.


The oldest got a Snuggie knockoff! Surely you've heard of a Snuggie before?! I didn't truly know what it was until I came across some patterns, I thought it was like a sleeping bag or something. It's just a blanket with sleeves, and VERY easy to make. I used this tutorial/pattern. It was kind of a joke because the Snuggie is such a silly As Seen On TV thing, but he really likes it and can be snuggly while he plays video games. That's my lovely assistant (Hubby) modeling the Suggie with his iPad ...

Hubby got a no-sew fleece blanket that the kids helped me make - and he LOVES it. And the kids, especially the oldest, LOVED helping me make it. My husband is impossible to shop for, much too practical (and picky) so this was a huge success in my book. All you do is lay out 2 layers of fleece, even out the edges, cut a 5" square from each corner, snip snip snip all around to make 1" strips of fringe, and then tie the fringe together to secure the layers. Because the kids were helping me, we just tied easy double knots, but it will look neater if you tie an overhand knot.


Here's a diagram, and you can click here for the tutorial if you want:

My blankets were a hit, and I loved having a coordinated gift for everyone. Now I have all year to think about what I'll make them next Christmas...
No comments:
Post a Comment
Comments are very much appreciated!