


Blind hems look very professional and are used in drapery, pants, and anywhere you don't want to see stitching on the right side of the fabric. Instead of a line of straight stitching, you will see a single tack every inch or so. It helps to have perfectly matching thread to not notice the tacking at all. By folding the fabric a certain way, the machine straight stitches along the hem edge and then isolated zigzags catch the rest of the fabric. Don't worry, it makes sense once you get started!
It requires a special presser foot that has a guide in the middle.

Let's get started!
Fold and press your hem as usual. Notice the pin.

With fabric wrong side up and hem on the right, flip the folded hem under towards the right side.

Leave 1/8-1/4" of the folded hem sticking out.

The pin is now underneath.

Insert fabric under the blind hem presser foot with the exposed folded hem to the right of the guide. Select your machine's blind hem stitch (you may have different options for different types of fabric -- check your manual). As you sew keep the guide between the hem and the wrong side of the fabric.

When you're finished, flip the hem up again. There's that pin.
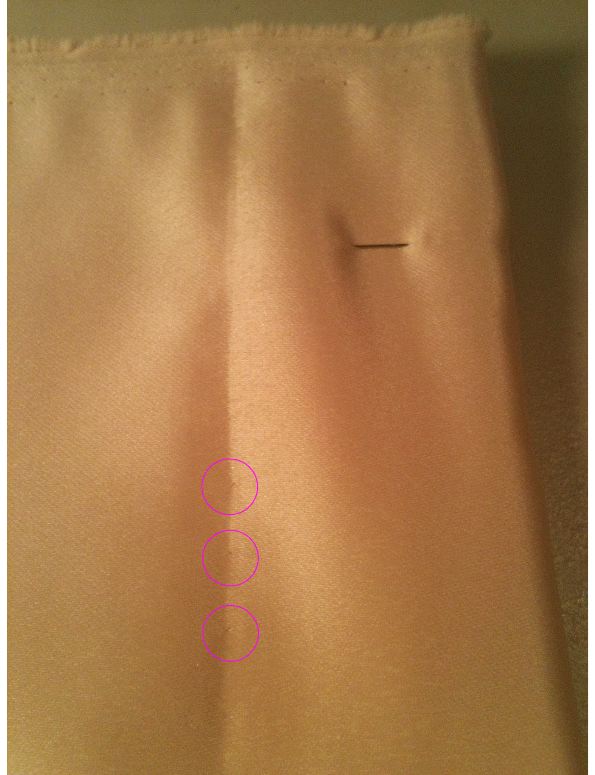
This is how the wrong side of the hem looks.

And the right side. (Ignore the crease, that will come out!).

A closer look at the (practically invisible) tacks.
That's it! I tried to use lots of pictures to make it easy to follow, but it's really as simple as preparing your hem as usual, and flipping it under. Definitely check out the video to see it in action.
No comments:
Post a Comment
Comments are very much appreciated!