I needed to make a late Christmas gift for my dad and his girlfriend -- they are active, beach bum types. I used my Silhouette Cameo to cut this cute vinyl sticker of a couple on a tandem bike (#27595 in the Silhouette store online), and added the lettering.
By some miracle all the detail of the bike cut out just fine but their names got all messed up. So I re-cut the names and tried this "reverse weeding" technique that I came across recently. I weeded away the tiny pieces inside the "A"s and "R"s, then applied the transfer tape and scraped, and peeled the tape off making sure the negative space stayed on the vinyl backing.
By some miracle all the detail of the bike cut out just fine but their names got all messed up. So I re-cut the names and tried this "reverse weeding" technique that I came across recently. I weeded away the tiny pieces inside the "A"s and "R"s, then applied the transfer tape and scraped, and peeled the tape off making sure the negative space stayed on the vinyl backing.
Why yes, that IS a Cricut mat I'm using with my Silhouette Cameo, thanks for noticing :) My gaaawd, my mat is a mess, I really need to clean that thing.
I applied the design to a paper background and sandwiched it between 2 layers of glass. I wrapped the frame in copper tape while my iron heated up. Please note: I was VERY careful not to leave the soldering iron unattended as it can and will cause serious burns.
I bought the thickest copper tape I could find, I think it was 3/8" but it barely wrapped around both layers of glass, in hindsight I should have applied two layers that overlap in the middle so it creates more of a frame.
I am not yet equipped for soldering so I used a cookie sheet covered in foil and lots of newspaper underneath. I didn't have clamps large enough for my 5x7 frame, so I used a couple river rocks from my yard! I call this "caveman soldering". Feel free to use it.
I was too impatient to wait for the flux I ordered online, which helps the solder flow onto the copper tape, so my first attempt came out very thick and clumpy. I think part of the problem is that my (cheap) iron has a "pencil tip" when I should be using a flat tip.
See how lumpy it is without flux?
When the flux came in the mail I re-soldered the whole project and it was much smoother. I used the side of the iron's pencil tip to smooth it out. It was much better than pictured but not perfect. I guess that is the charm of solder, it's hand crafted and unique!
I didn't get any pictures of the finished project because I was in such a hurry to ship this already-late gift, but here are some soldering ideas to get you inspired:
via Pinterest, originating source unknown:
I love the bottom loop detail.
Charm Pin Tutorial at Tater Tots & Jello:
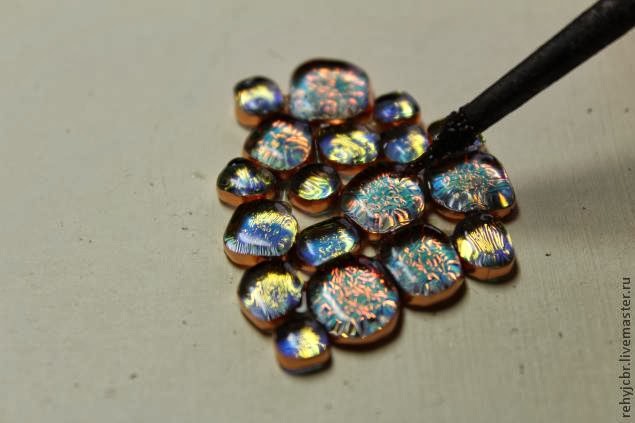
These stones are individually wrapped and soldered to make a bib necklace style pendant:


No comments:
Post a Comment
Comments are very much appreciated!