
I finally got to have some fun with my Silhouette tonight! I tried something new and made vinyl stencils to etch glass. My mom gave me these ramekins that came with a frozen creme brulée from Costco (yes, it was delish). I wanted to put a cute message on the bottoms, sort of a little surprise when you finish your treat.
I picked up some etching cream a little while back, it's called Armour Etch (affiliate link) - it's the only one Hobby Lobby had. You just put a stencil on your etching surface and then put the cream on to etch the exposed parts. I had to look up instructions which said to leave it on for only a few minutes, but people from a Silhouette Facebook group that I belong to said they leave it on for 30-minutes or overnight so that's what I did.
I used my Silhouette Cameo to make vinyl stencils (affiliate link). I made a circle the size of the bottom of the ramekins. Then I placed the design in the circle and cut. Since I etched the bottom of the dishes, I had to flip/reverse/mirror the design so it would print backwards. When you stick the vinyl stencil on the bottom, it reads correctly from the inside.
It wasn't as easy as it sounds. I had some trouble cutting some of the letters and I finally figured out that there were lots of intersecting lines in the font I was using (it's called Honey Script). So I had to Weld the letters together to get rid of the intersecting lines.
But that didn't solve my problems. I played with some other settings before I finally just put in a new blade and - poof! - it cut perfectly. It shouldn't be so tricky to get a clean cut, so if you're in doubt, try a new blade. Here's is before and after the new blade:
Then weed the lettering (the positive space).
Lift off the stencil with transfer tape (I reused the same piece for each stencil).
See how it reads correctly from the inside?
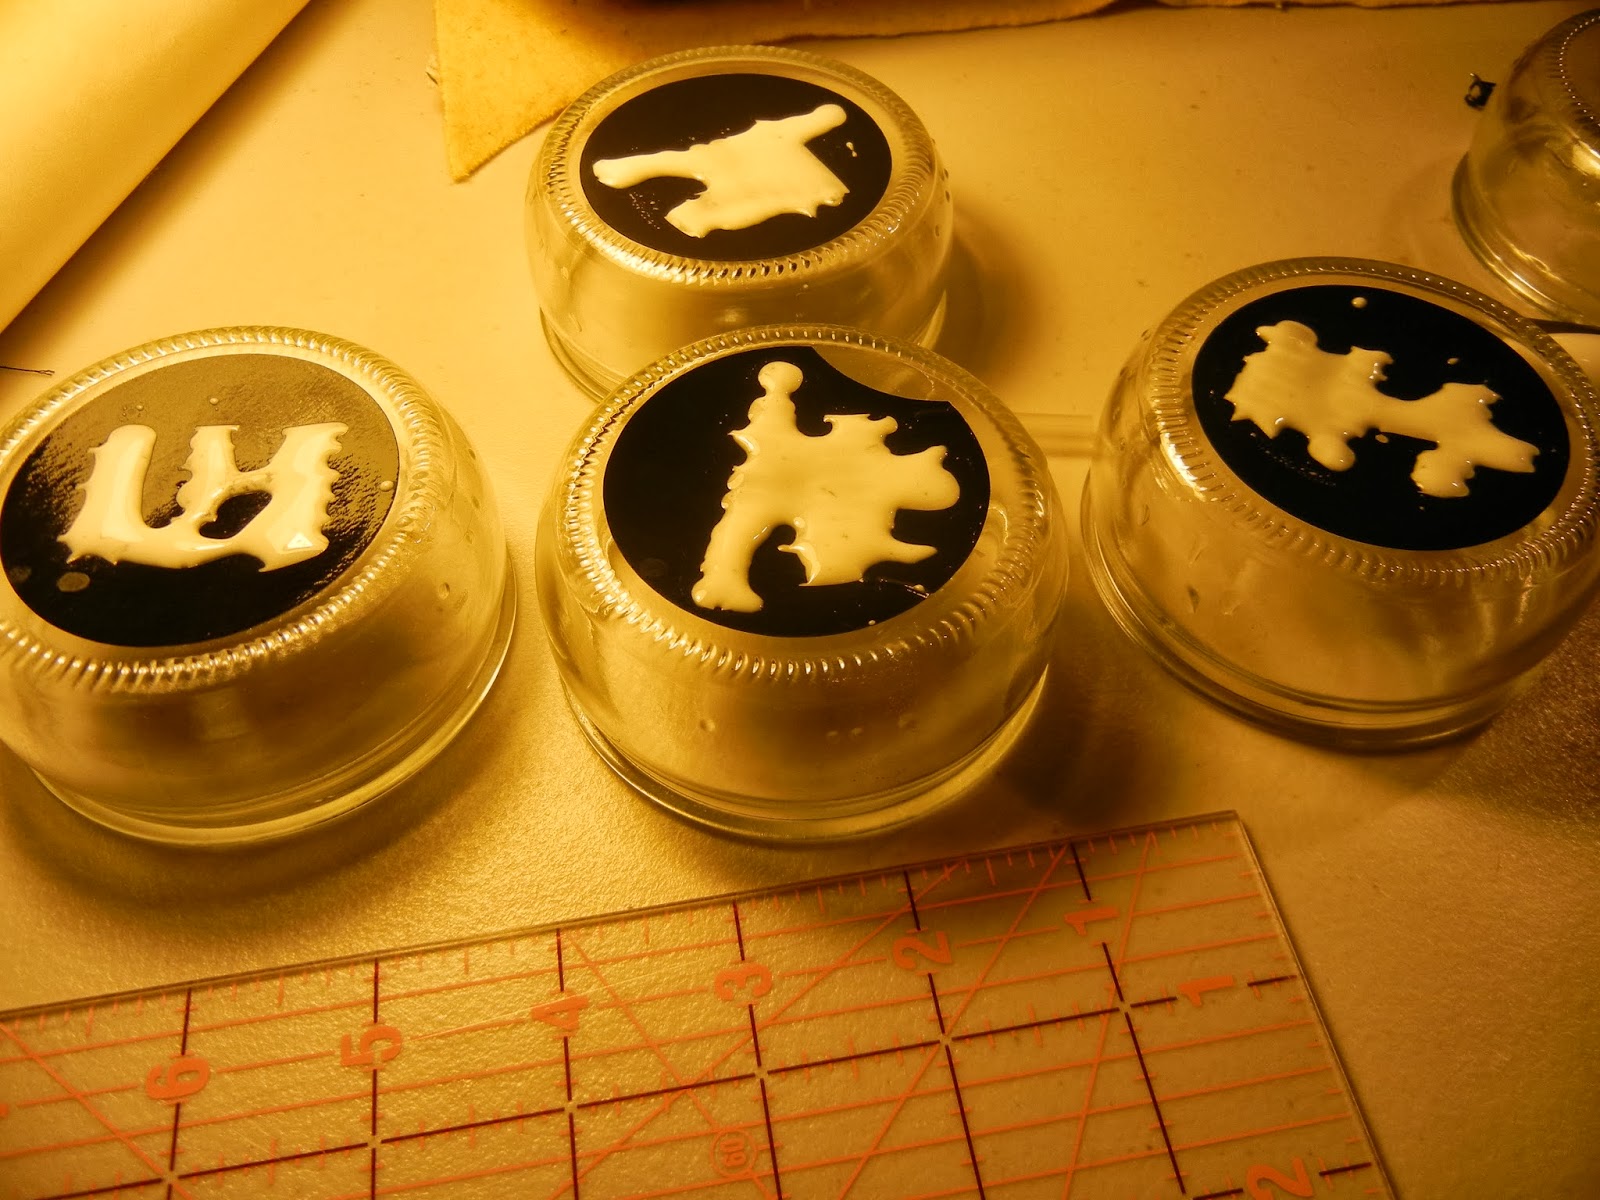
I applied the cream with a chop stick. It's supposed to be thick so I just dripped it on and pushed it around. I would check it after a bit and push it around some more because my surface was just slightly dipped in the center so the cream wanted to slide. Easy peasy.
And apply it to your surface - mine is going on the bottom of the ramekin.
See how it reads correctly from the inside?
I applied the cream with a chop stick. It's supposed to be thick so I just dripped it on and pushed it around. I would check it after a bit and push it around some more because my surface was just slightly dipped in the center so the cream wanted to slide. Easy peasy.


You make it look so easy. I need to bust out the vinyl and etch away. Thanks for the tips
ReplyDeleteIt really was easy once I put in a new blade! It can be so frustrating and then so gratifying :P
DeleteI want to give this a try. Thank you for the information
ReplyDeleteIt's so fun, Dorothy!
Delete