

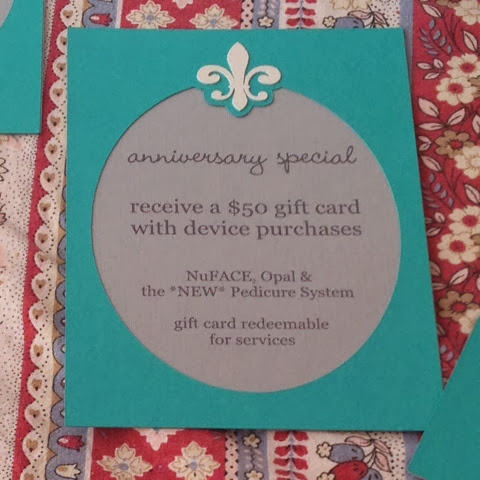
I made these fleur-de-lis signs for my mom's skincare business' 9th anniversary party, to match the invitations we made. I won't get too picture crazy but I want to give you the lowdown on how it went together. I had a little breakthrough and came one step closer to understanding compound paths, which sure makes designing easier, so I hope this helps you "get it" too.
Here are the three pieces of the sign. Before you actually do any cutting I would get all the layers ready in Silhouette Studio and lay them on top of each other to make sure everything lines up properly.

Start by making the frame...
- Start with a rectangle (mine is 5x7"), a slightly smaller oval inside, and a fleur de lis. Copy/paste the rectangle and oval to use later.
- Offset the fleur and then cut/paste the fleur into a new page (leaving the offset line with the rest of the frame pieces)
- When everything is positioned how you want (as pictured in the photo below on the left), select the oval and the rectangle and choose Make Compound Path
- Now select the compound-ed (?) rectangle/oval frame and the offset fleur line, and Weld
- You are now ready to cut the frame

Here's my little blind-leading-the-blind lesson on compound paths. If you hadn't made the rectangle and oval a compound path before welding and just tried to weld all 3 parts, it wouldn't have worked. You would have been left with a rectangle (just the outermost piece). By making the rectangle and oval a compound path, the oval is recognized as the inside edge of the shape/frame. If you had tried to make all 3 compound, the intersecting lines of the fleur and oval would have been locked in place so that you couldn't Weld them away. Hope it helps, that's all I got.
Now make the print-and-cut piece...
- Using the rectangle and oval that you duplicated earlier, start a new page and arrange the text how you like in the oval. (Make sure the rectangle and oval are positioned exactly like they are in the frame.)
- Group the text with the rectangle and oval. (You can delete the oval if you want, it is only a guide for where the text goes, it will not be printed or cut).
- Turn on registration marks, print the text, then cut the rectangle. MAKE SURE TO SELECT "CUT EDGE" SO IT DOESN'T CUT THE LETTERS (or the oval if you didn't delete it)!
- Go the the page with the fleur and cut as many as you need. I used glitter cardstock. Love that stuff.
- Just glue and you're done!

I
I stumbled across your blog and as a new silhouette owner I found it extremely informative and the way you explained the compound paths was great too. I think weld is where it attaches two objects and joins the lines so you need to compound path the first two to then weld the third but your explanation really helped. Thank you so much.
ReplyDeleteOh my goodness I am soooo grateful that you took the time to share all of this! I have just started to try and understand these terms compound path, weld, etc and without a "glossary" for each term I was pulling my hair out!! If there is such a place to just learn the definition of each function of this Ah mazing cutting machine Silhouette I would like to know where it is, but your pictures and descriptions of each step have been so helpful! Thank You so much! I wonder if I could e-mail you if I have more questions as I play with my designs? TY TY TY TY!!❤️❤️❤️
ReplyDeleteI'm so glad it was helpful! That was a tough concept for me. Makes you want to go to design school. Yes feel free to email me through the "contact" tab :)
DeleteI still have one question: I'm trying to make photo frames for 8x10 pictures out of 8.5x11 paper. How do I make the frame without needing the outer edge of the frame cut, just fit to my paper? This has been most frustrating to figure out! I've only had my cameo since Christmas so I'm new to everything.
ReplyDeleteOh Thanks! I have been fighting with welding for a long time.. I think I read to make it a compound path first, but had forgotten.. I was remembering the wrong way, haha... This is so helpful, as I am working on a project right now and came looking for an answer. Thanks so much.!
ReplyDelete